Dollar Tree, Fall, Home Decor
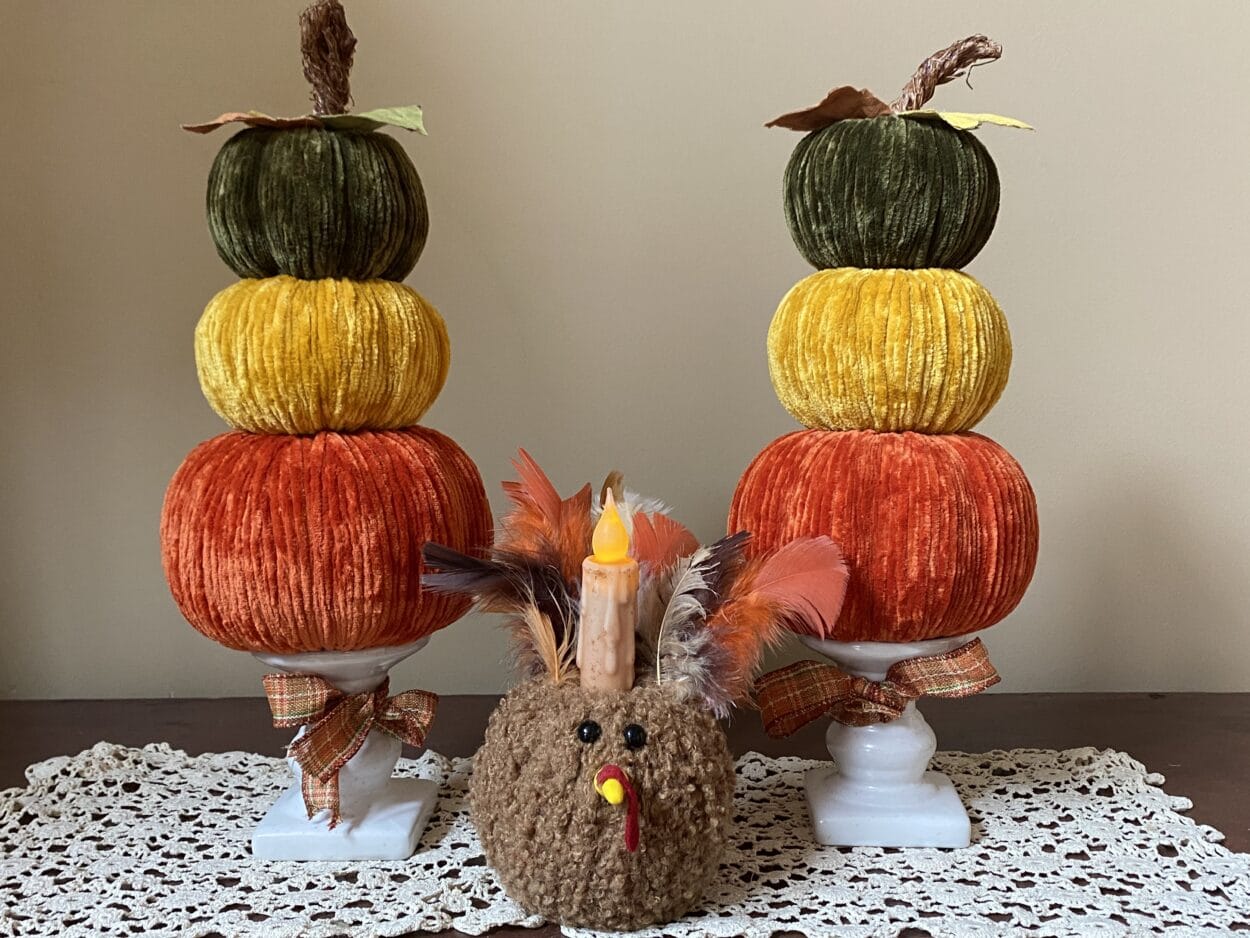
DIY Dollar Tree Pumpkin Topiary
I just love trying to create beautiful things I can decorate my home with on a budget and what better way is there then to use Dollar Tree items. I just loved how these topiaries turned out. You can use the yarn from the Dollar Tree but I just love the Yarn Bee velvety smooth yarn from Hobby Lobby. The best about this topiary is you can make it any size and color to match your décor. In the below photo I made my pumpkin stem but you can certainly use the stem from the fabric covered pumpkin. If you would like to make your own stem I have a blog on how to make them.
Materials You Will Need:
- Pumpkin Leaf Pattern
- Orange Foam Pumpkin (Dollar Tree)
- Fabric Covered Pumpkin (Dollar Tree)
- Small Colored Foam Pumpkin (Dollar Tree)
- Candle Stick (Dollar Tree)
- Ribbon (Dollar Tree)
- 3 Different Color Yarns (I used Yarn Bee velvety smooth yarn from Hobby Lobby)
- Fabric for Leaves or You Can Use Leaves From The Dollar Tree
- Meat skewer or 12” dowel
- Hot Glue Gun and Glue Sticks
- Floral Wire
- Pencil
- Wire Cutters
- Scissors
- Pumpkin Carving Knife or a Regular Knife
Preparing The Pumpkins
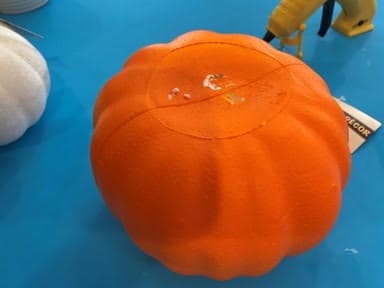
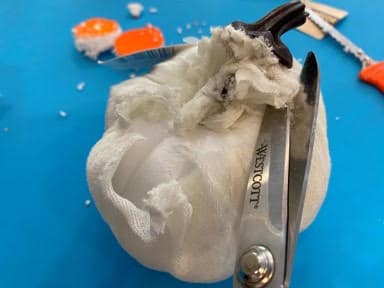
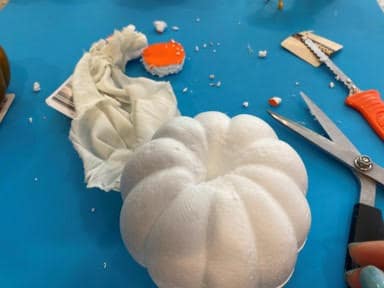
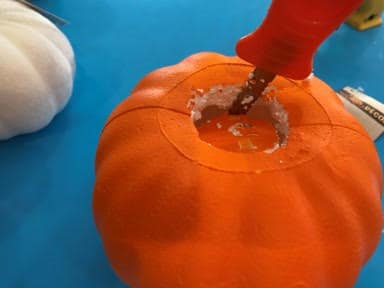
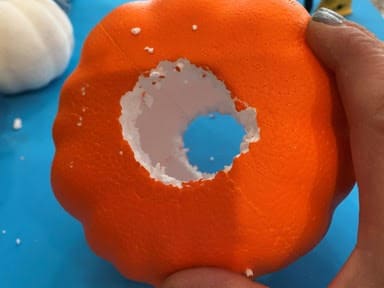
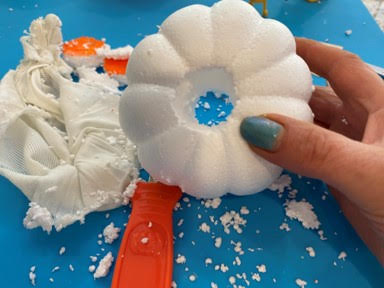
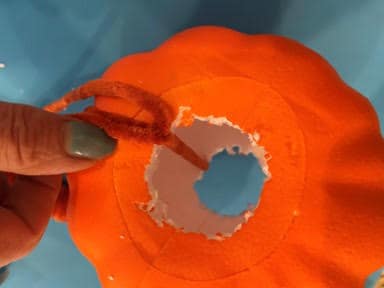
The first thing you are going to do is remove the stems and fabric from the pumpkins. Using a pumpkin carving knife or a regular knife cut a hole in the top of the orange foam pumpkin. You want the hole to be at least the size of a half dollar if not a little bigger. Then cut a hole in the bottom of the pumpkin. Don’t worry if the hole is a little to big it is going to be covered by the second pumpkin. Repeat this step to the second pumpkin which is the one that was covered with the fabric. Now you are going to cut a hole in the top and bottom of the small pumpkin. Try not to make these holes to big but you need them to be big enough for the yarn you are going to be wrapping through and the hole will get smaller as you wrap the yarn. Sorry I forgot to take photos of the small pumpkin.
Covering The Pumpkins With Yarn
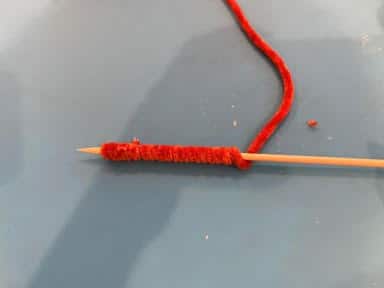
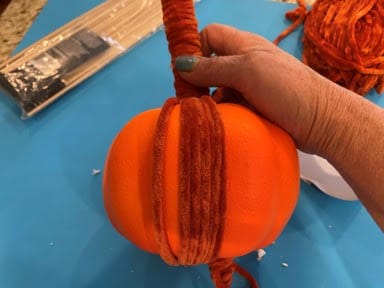
Take a skewer and the yarn you are using for the larger pumpkin which will be the bottom pumpkin and start wrapping your yarn around the meat skewer going up and down the skewer. I did not measure how much I used I just keep wrapping until it started to get to thick. Don’t worry if it is not enough to cover the pumpkin we can wrap another and tie it to the pumpkin on the yarn.
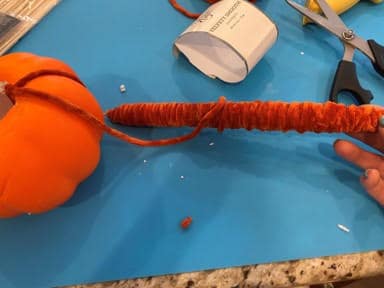
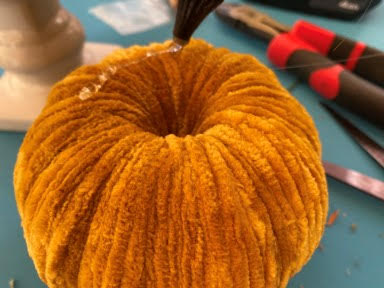
Next take the end of the yarn you have wrapped on the skewer feed it through the hole in your pumpkin bring it out the end and tie a double knot. Push the knot down into the hole. Now you are going to start wrapping the yarn around your pumpkin by inserting the skewer through the hole of the pumpkin and wrapping the yarn as you go. You are just going to keep doing this working your way around the pumpkin. Pull the yarn tight as you go. Your yarn is not going to want to stay in place over the bumps in the pumpkin that is ok just leave the pumpkin showing we are going to fill it in when we go around a second time. Once you have gone around the pumpkin once start going around again this time your yarn will fill in where it wouldn’t stay before. After you have gone around the second time use your finger and push the yarns together to see if you are going to have any bare spots then just wrap again filling in any of the bare spots. If you run out of yarn just wrap the skewer again, you will not need as much yarn to finish so don’t wrap to much or it won’t go through the hole. Take the end of the yarn on your skewer and the end of the yarn on your pumpkin and tie a double knot. Trim off any excess yarn.
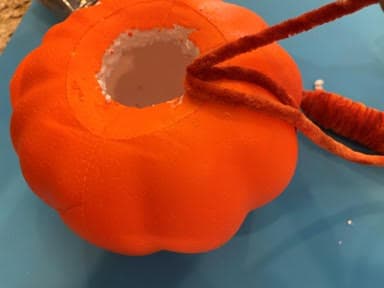
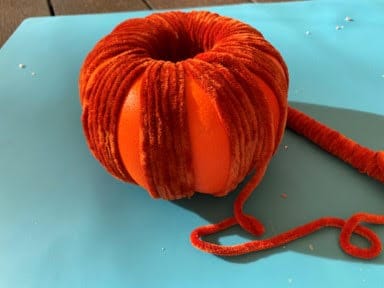
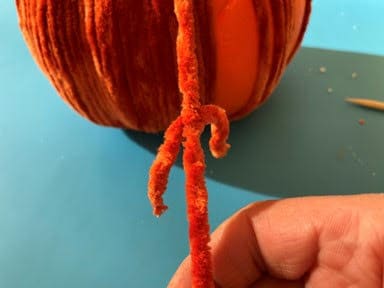
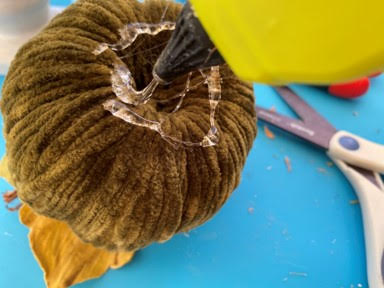
When you have finished wrapping your pumpkin make sure you end up with the end of your yarn at the top. If you still have yarn left on your skewer cut the yarn making sure you leave enough to glue down in the hole. Now add a dap of hot glue on one side down in the hole in the top of the pumpkin then glue your end of the yarn down into the hole.
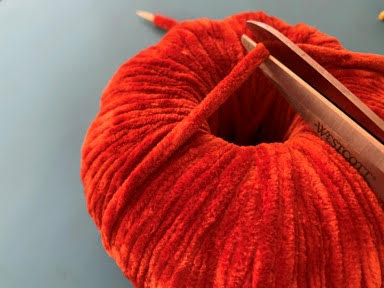
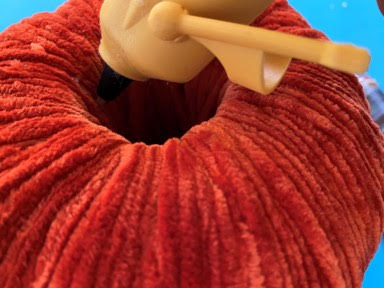
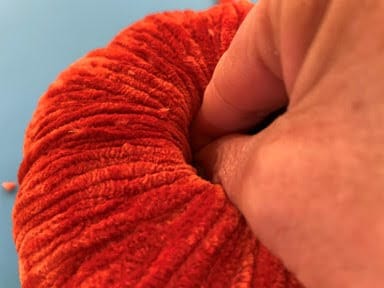
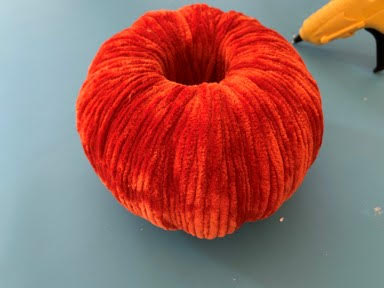
Repeat the above yarn wrapping steps to your other two pumpkins.
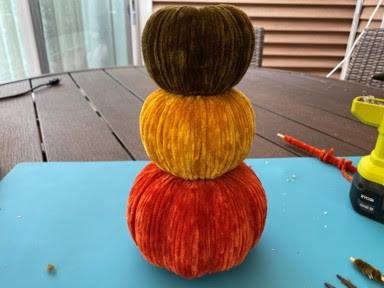
Assembling The Topiary
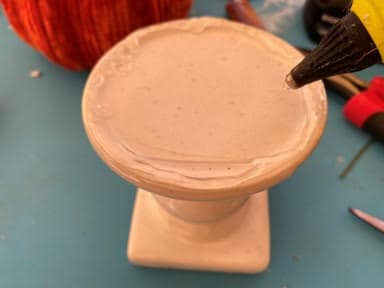
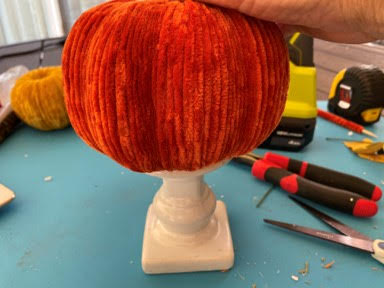
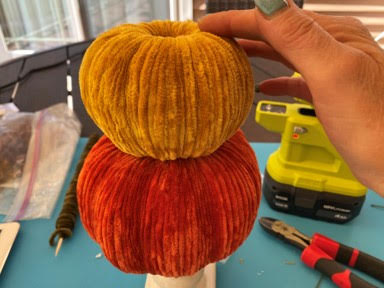
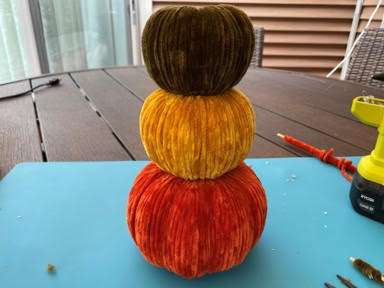
To assemble the topiary add hot glue around the edge of the top of the candlestick and glue on the larger bottom pumpkin. Next add hot glue to the bottom of the middle pumpkin where it will be touching the large pumpkin then glue the pumpkin to the bottom pumpkin. For the last pumpkin add glue to the bottom of the pumpkin around the hole and glue to the top of the second pumpkin.
Making The Leaves
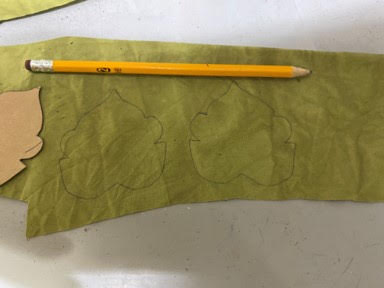
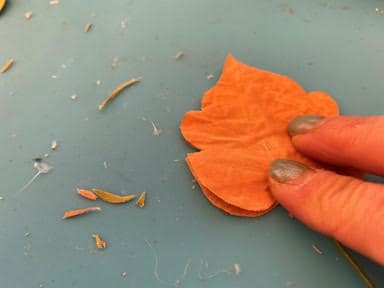
The first thing you will need to do is print and cut out the leaf pattern. I color my own fabric to make my leaves if you would like to see how I do this you can look up my blog on how I color and coffee stain fabric, but you can just use any fabric you would like to make the leaves. You need to trace and cut out two leaves for every leaf you want to make.
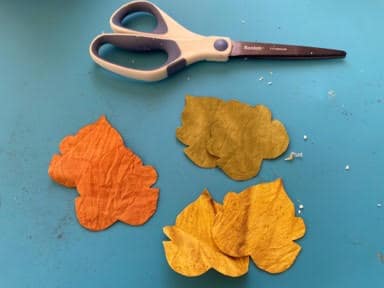
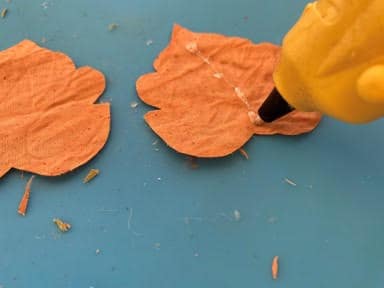
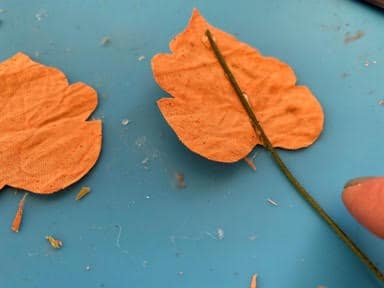
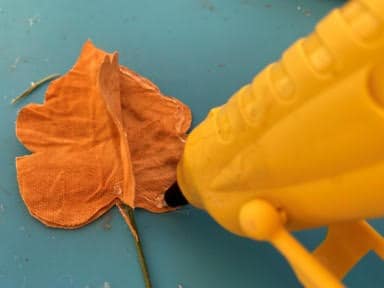
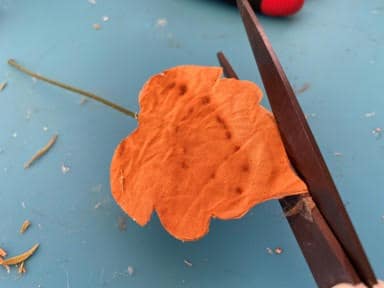
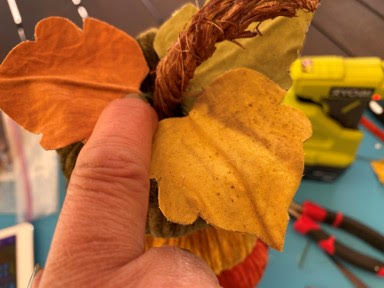
Lay down one leaf add a line of hot glue down the middle, lay your floral wire on top of the glue. Add a little more hot glue on top of the wire then glue the second leaf on top gluing it down. Fold back one side of the leaf add hot glue around the edge then glue the two leaves together. Repeat this step to the other side of the leaf. Trim any uneven ends of the leaf. Next cut your floral wire you just need enough wire at the bottom of the leaf to glue and stick into the top of the pumpkin. Repeat these steps to each leaf you would like to make.
Adding The Stem And Leaves
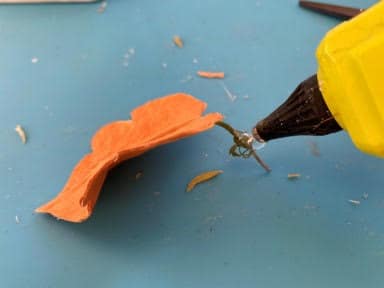
To add the stem to your topiary add hot glue down the middle of the hole on your top pumpkin then glue in your stem. You can use the stem that came with the fabric covered pumpkin or you can make your own like I do. If you would like to make the pumpkin stem go to my blog on how to make a pumpkin stem. To add the leaves add a little hot glue to the floral wire then stick down into the pumpkin around the stem. Repeat this steps for each leaf you want to add.


Love it. Getting yarn tomorrow. Do you have anything for primitive sunflowers. You see them all over pintrest. Love them . Would look so good with your corn stalks, we made last year.
Hi sherry do you know we’re can get some Pumpkins the medium size and small size pumpkin and large one too ????? Because the Dollar tree don’t have any pumpkins
Love these can’t wait to make them love you Barb
I am so glad you are going to make them.
I love these can’t wait to make them
I am so glad you are going to make them!