Easter, Home Decor, Spring
DIY Primitive Fabric Carrots
Easter and summer are fast approaching and I wanted some carrots to add into my décor so I came up with these fabric primitive carrots and I am just loving how they turned out. How amazing do these look in the basket and I think the look of the two different carrot tops just put it over the top.
Materials You Will Need
- Primitive Fabric Carrots Pattern
- Muslin Fabric
- Polyester Fiber Fill
- Your choice of orange craft paint (I liked Harvest Orange by Apple Barrel the best)
- Paintbrush
- Your choice of greens for the top of the carrots
- Moss for around the tops of carrots
- Black or brown embroidery thread and needle about 3” long
- Orange thread and needle
- Sewing Machine
- Scissors
- Pencil
- Hot glue gun and glue sticks
- Fine grit sandpaper (I used 320)
- Wire Cutters
- Masking tape depending on the type of greens you use
- Rubber gloves
- Foam brush
- Coffee Stain Mixture
- Pdf For Primitive Carrots
Printable Instructions (no pictures)

Sewing The Carrots
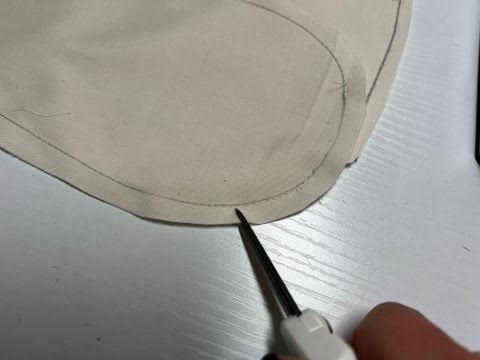
The first thing you will need to do is print and cut out the carrot pattern pieces. There are four sizes for the carrots you can make all four sizes or just one that is up to you. Trace your pattern pieces onto a double layer of muslin then cut out your carrots about a ¼” away from the trace line. Using your sewing machine and the trace line as your sew line sew up your carrots making sure to leave the openings where indicated on the pattern pieces.
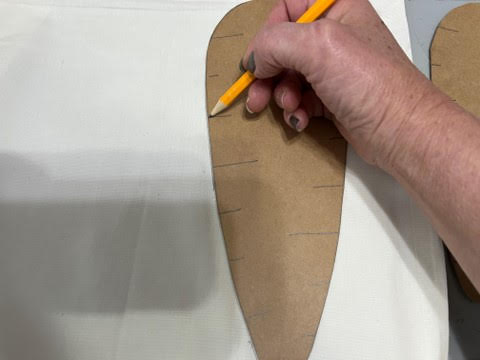
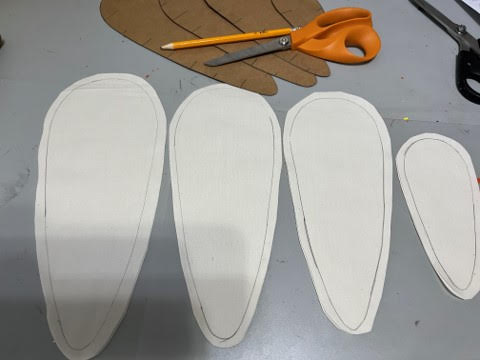
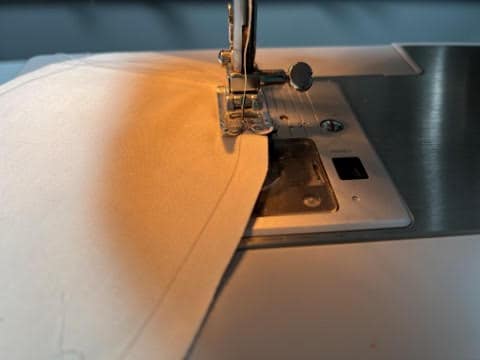
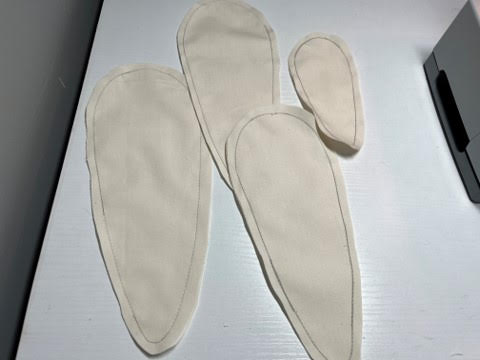
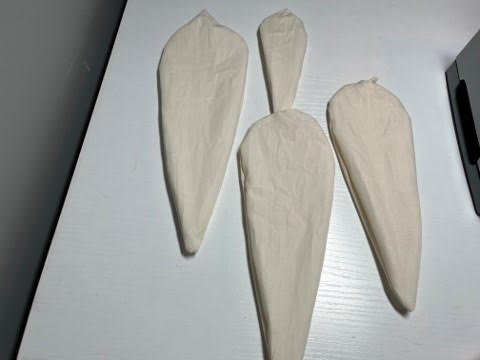
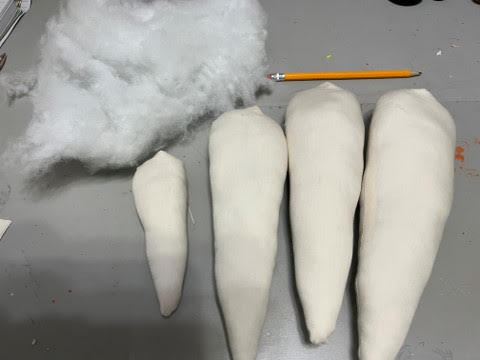
Using scissors clip around the curves of the carrots making sure not to cut your stitches this will help the fabric not to pucker when turning right side out. Turn your carrots right side out then stuff firmly with polyester fiber fill. I like to use the eraser of the pencil to push in the fiber fill.
How To Glue The Carrots
Print and cut out your carrot patterns. Trace your carrots onto a double layer of muslin then cut the carrots out about a ¼” away from the trace line. The trace line is going to be your glue line. Next take one of the carrots and separate the two pieces then lay down the carrot piece with the trace line facing up then place the second piece on top.
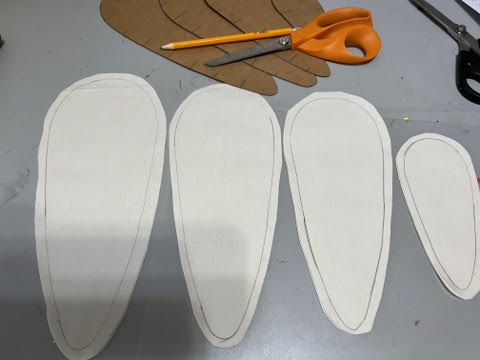
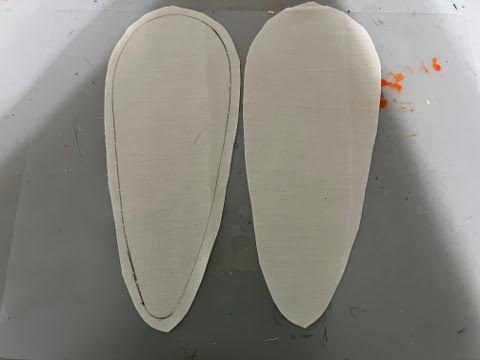
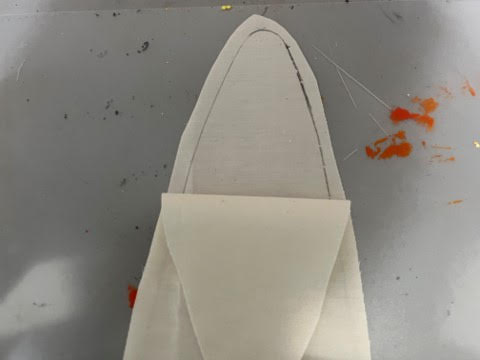
I found it easier to start with the bottom of my carrot facing upward. Fold down the top layer of the bottom of the carrot add a line of hot glue on your trace line then glue down your top piece. Next fold up the top layer of fabric add a line of hot glue making sure not to add hot glue where your opening needs to be. Glue down the top layer.
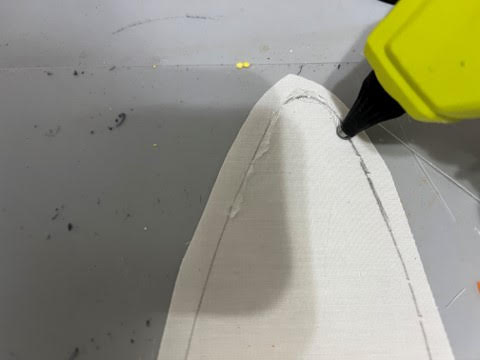
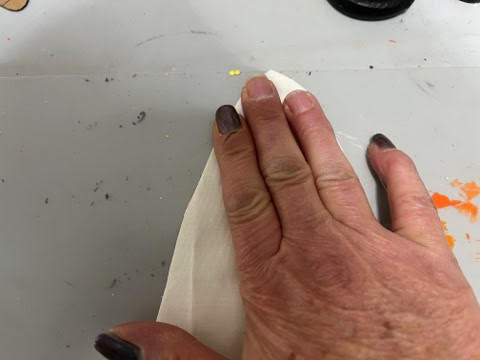
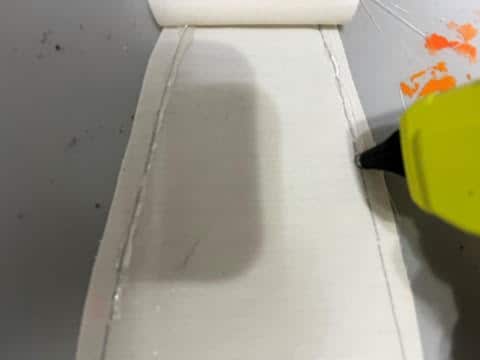
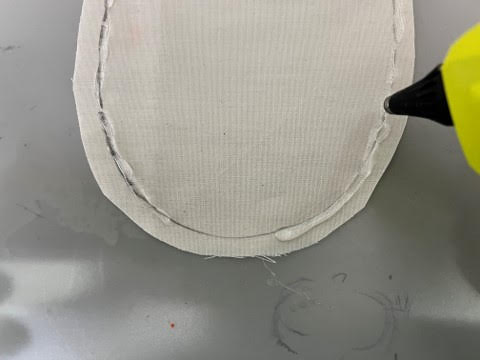
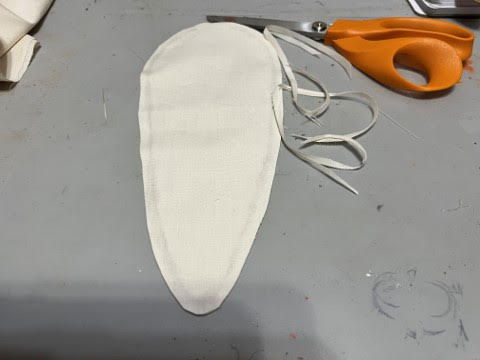
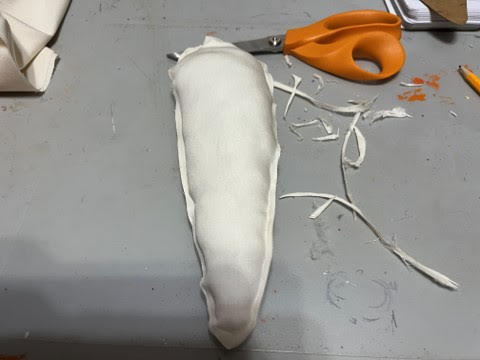
Using your scissors trim some of the excess fabric around the carrot. Do not trim to close your glue line. Stuff your carrots firmly but do not push the stuffing in to hard or you will break through the glue line.
Painting, Sculpting and Coffee Staining The Carrots
This can be messy so I suggest wearing a pair of rubber gloves so your hands to do not get all paint and coffee stained.
Paint all of your carrots with your orange craft paint. I used Harvest orange by Apple Barrel I also tried pumpkin orange which is the lighter colored carrot in the basket photo but I decided Harvest orange was the best. After you have your carrots painted you can either let them air dry or you can place them on a foil or parchment lined cookie sheet and place in the middle of a 200 degree oven to dry making sure you check them after 5 minutes. If you have hot glued your carrots DO NOT place them in the oven you will need to let them air dry.
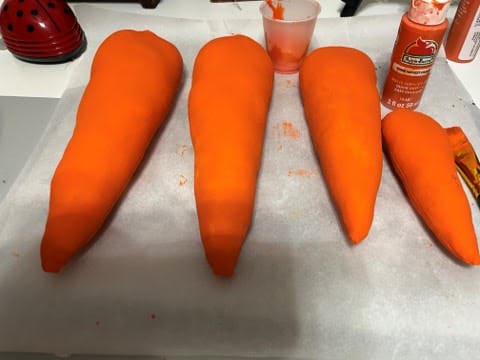
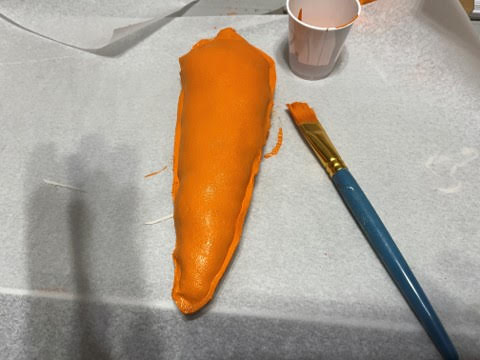
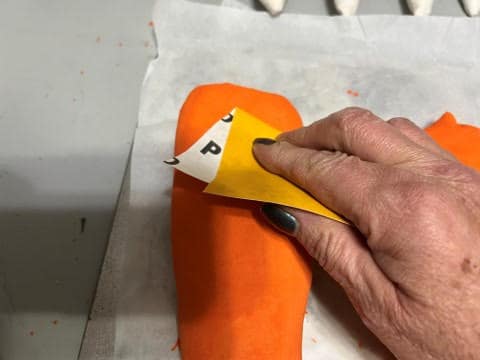
Once your carrots are dry sand all your carrots with a fine grit sandpaper making sure not to sand to hard or you can rip the fabric. Sanding is going to give them a worn primitive look. Now that your carrots are all sanded it is time to sculpt them. Using a pencil lightly draw on your sculpt lines you are going to start at the seam and draw a line towards the front of your carrot then continue the line to the other side of your carrot starting again at the seam. Try to keep the line the same length on both sides of the carrot. You can use the pattern as a guide or just place them where you would like.
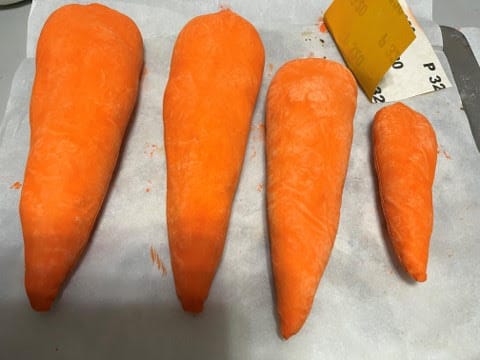


Next using three strands of embroidery thread and a needle that is about 3” long insert the needle into the end of a sculpt line at the top of the carrot and come out at the other end of the line. Bring the needle back over to the begging of the line insert the needle into the hole where you started and come out at the second sculpt line on the other side of the carrot. I hope this is making sense you can look at the photo’s below to see what I am talking about. Continue sculpting the carrot down one side and up the other using this same step. When you get to your last line at the opposite top side of the carrot when inserting the needle at the second end of the line bring the needle back up and tie a knot. Repeat these steps to all your carrots.


It is now time to coffee stain! If you need a coffee stain recipe you can go to my website and my blog on how I color and coffee stain fabric. Wearing your rubber gloves brush your carrots with your coffee stain mixture using a foam brush. This part is optional but I do not like to have a lot of dark spots after they dry so I blot my carrots with a piece of paper towel after coffee staining them. Let dry naturally or again you can place them in a 200 degree oven to dry making sure you check them every 5 minutes because you do not want them to burn. If you have glued your carrots DO NOT place them in the oven you will need to let them dry naturally.


Adding The Greens And Moss
For my greens I used a dill bush (item #1391994) and a dried green whispering grass bundle (item #249086) from Hobby Lobby. Cut your stems from the bush using wire cutters. If you are using a dried green cut a bunch of pieces the length you would like them then holding them together at the bottom wrap a piece of masking tape around the bottom to hold them together.


Place your greens down into the stuffing in the middle of the opening at the top of the carrot. If you are having trouble getting them down into the stuffing use a pencil to make an opening in the stuffing. You can either now sew your opening closed with orange thread and a needle or you can remove the greens add hot glue into the stem hole glue your greens in then add hot glue on the sides of the opening and glue closed.


To add the moss add hot glue at the top of the carrot around the greens then glue your moss in place.


You are now finished with your primitive carrots. I hope you have enjoyed making them and adding them to your home décor. These primitive carrots would be a wonderful addition to your farmhouse décor or mixed in with your Easter/Spring décor. The smallest carrot would be adorable to add to your tiered tray along with some bunnies.


Hi! I love your crafts! 🥰
Thank you so much.
Love your crafts
Thank you so much.
Thank you. I made mine not as good as yours, but, good for me.
You make such beautiful crafts well made because you are very detailed in every new thing you try. I love your step by step instructions and how patient you are with all of us watching and asking the same questions. 😊 You don’t rush through just to get something done. It’s always very nice.
I always appreciate your detailed instructions. You give directions for sewing and gluing. It takes alot of time to do that. Thank you Sherry…you really are the best. I always learn something!!!!!
You are so sweet thank you.