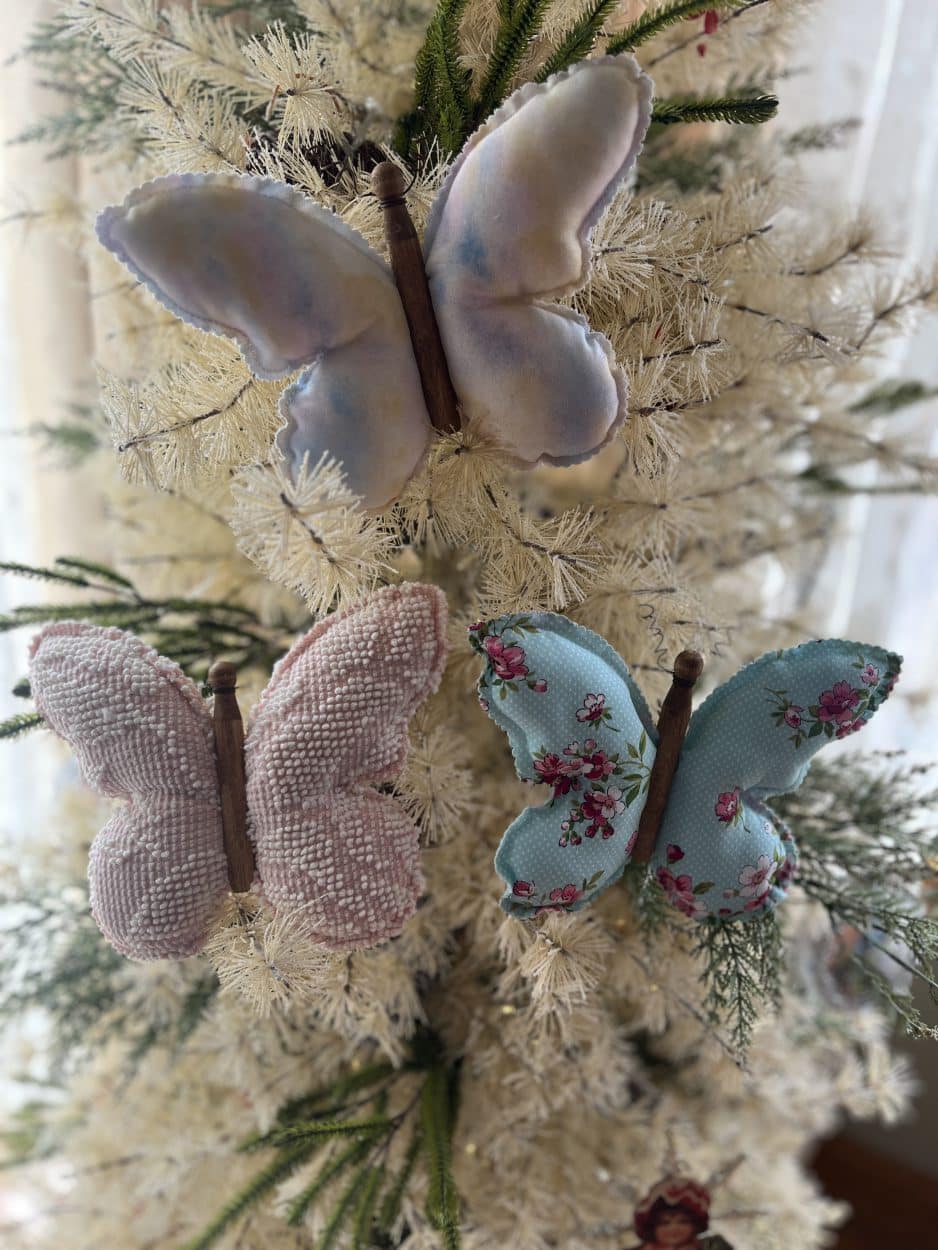
Spring
Fabric Butterfly
Mar
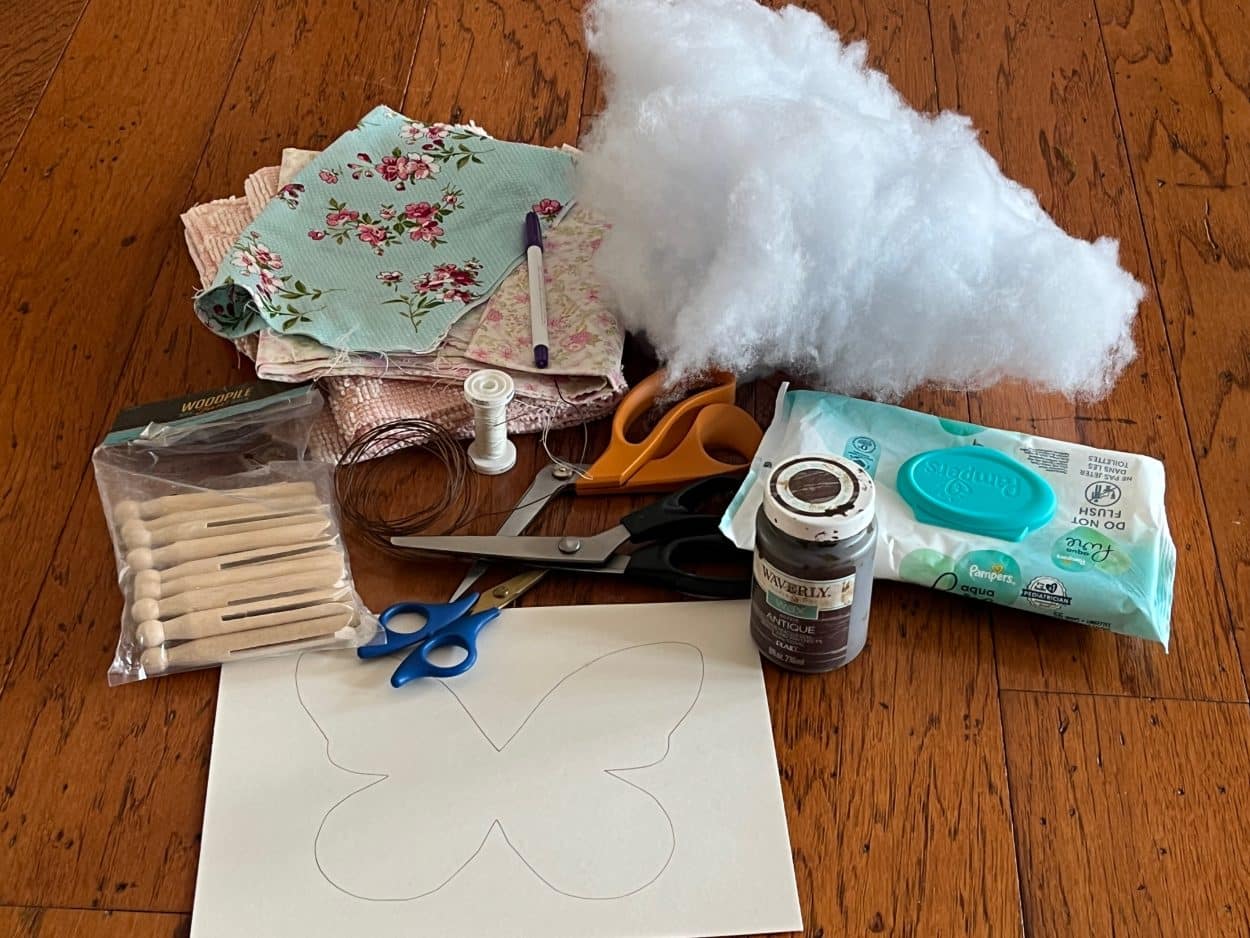
Materials I Used
- Butterfly Pattern (Click to download)
- Fabric of your choice
- Round doll pins tapered end (Hobby Lobby item #740019)
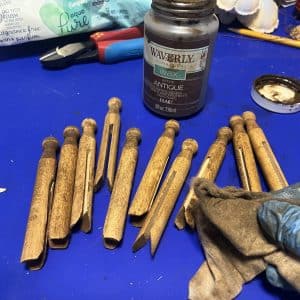
- Waverly antiquing wax
- Baby wipe
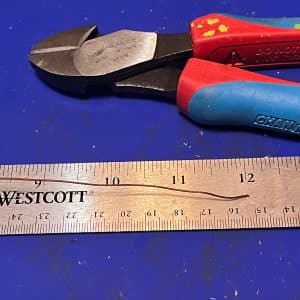
- 24 gauge rusty wire or any thing wire
- Sewing machine
- Sewing needle and thread
- Polyester fiberfill
- Scissors
- Pinking Shears
- Hot glue gun and glue sticks if you are going to glue the butterfly together
- Disappearing ink marking pen
- Pencil
Sewing The Butterfly
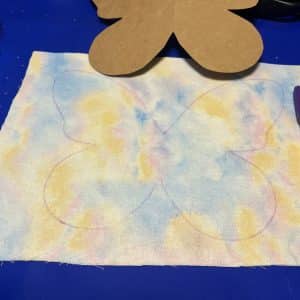
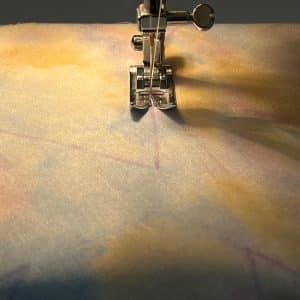
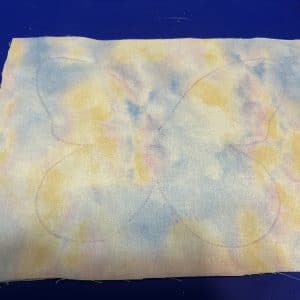
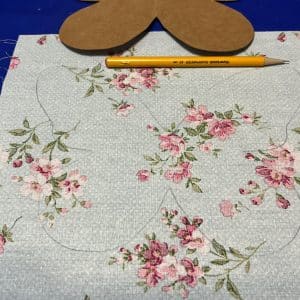
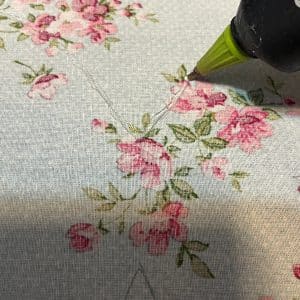
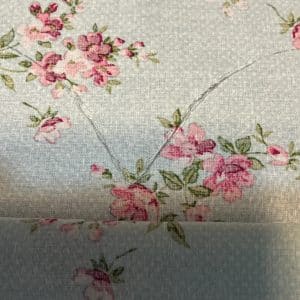
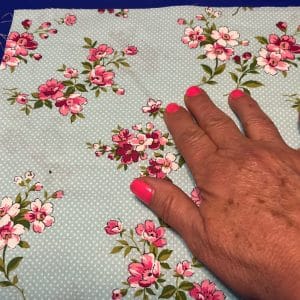
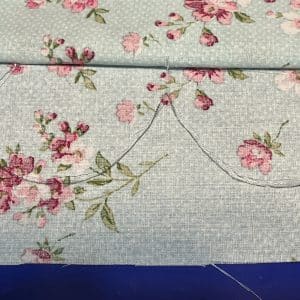
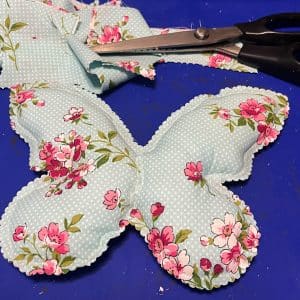
The first thing you will need to do is print and cut out the butterfly pattern. I used two pieces of fabric measuring about 10″ x 10″. Place one piece of fabric on top of the second piece making sure the print of each piece of fabric is facing out. Trace your butterfly onto the top piece of fabric using a disappearing ink marking pen. Using a sewing machine sew the butterfly all the way around, do not leave an opening.

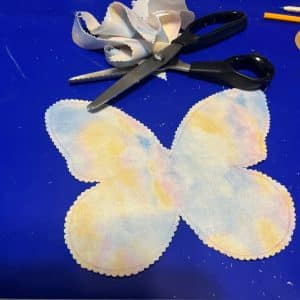
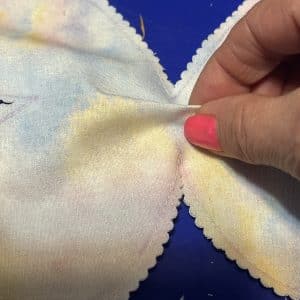
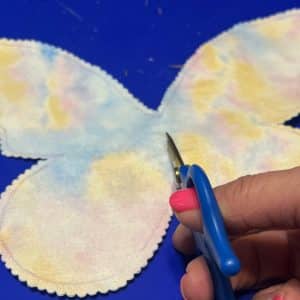
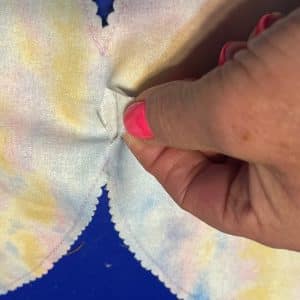
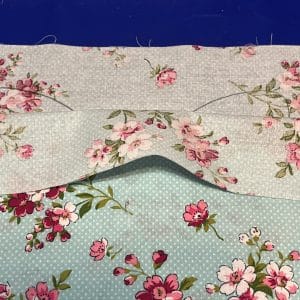
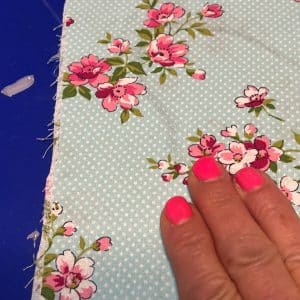
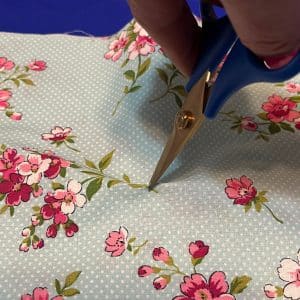
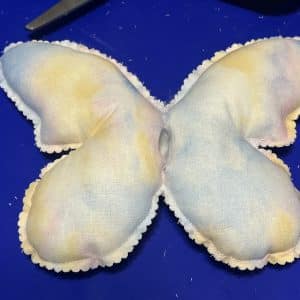
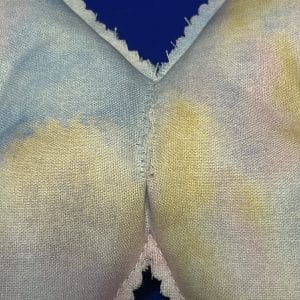
Cut out the butterfly
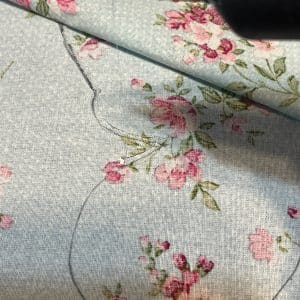
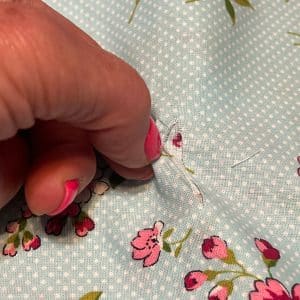
Using a pair of pinking shears cut out the butterfly. Next separate the two pieces of fabric at the center of the butterfly as shown in the photo. With your fingers pinch the top piece of fabric as shown in the photo then make a small vertical cut in the center. Using your scissors make your cut bigger, you want it just big enough so you are able to stuff the butterfly.

How to glue the butterfly
To glue the butterfly together place one piece of fabric down making sure the print is facing down. Using a pencil trace the butterfly onto the fabric then place the second piece of fabric on top of the first piece making sure the print is on top. Fold down the top piece of fabric half way then add hot glue to the V section between the wings then glue down the top piece of fabric. See photos below.
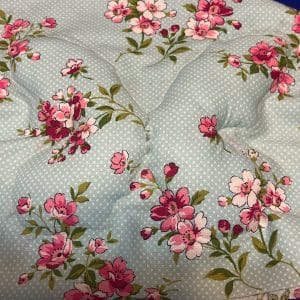
Folding & Gluing
Fold down the top piece of fabric then add hot glue to the top of both wings and glue down fabric. Fold up the bottom of the fabric, add hot glue to the top parts of both wings and glue down fabric. Next fold up the fabric, add hot glue to both wings and glue down fabric. The whole butterfly should be glued closed with no openings.

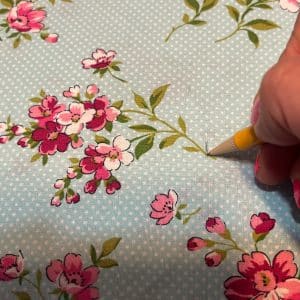
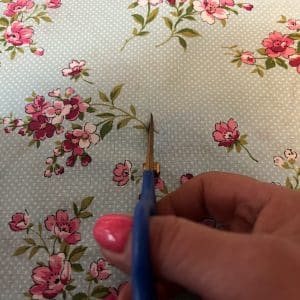
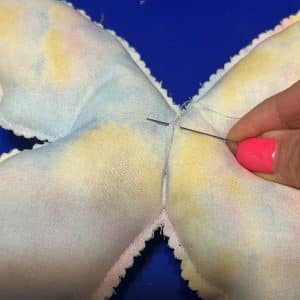
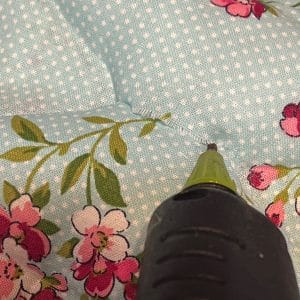
Mark & Separate
Using a pencil make a small mark in the center of the butterfly.
Next separate the two pieces of fabric and make a small vertical cut then cut vertically to make the opening big enough to stuff the butterfly (see photos below).
Stuff and close butterfly
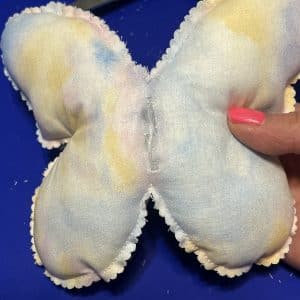
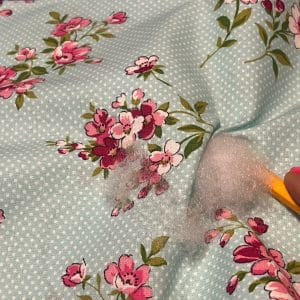

Now that you have the butterfly opening closed you are going to cut out the butterfly using pinking shears. When cutting out the butterfly make sure you do not cut too close to the glue line!
Staining and adding the doll pin
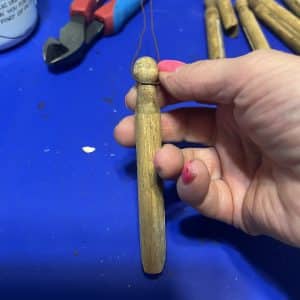
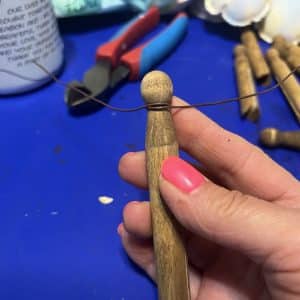
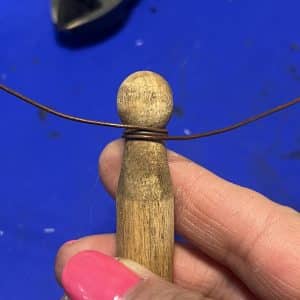
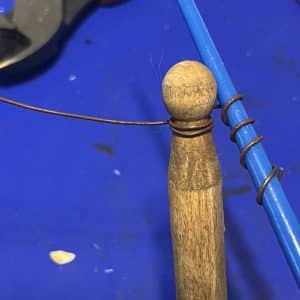
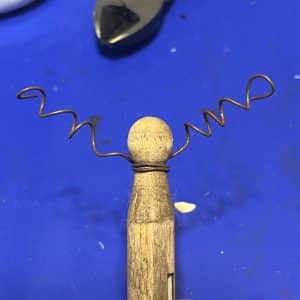
Adding the antennas
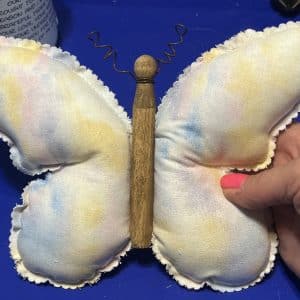
Cut a piece of 12″ wire then bend the wire in half and place around the neck of the doll pin. Wrap the ends around bringing them to the front then wrap them around to the back and twist (see photos below).
Adding the doll pin to the butterfly
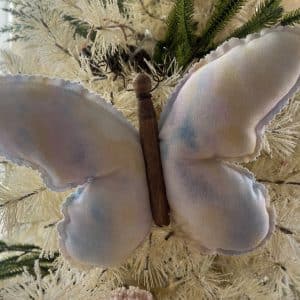
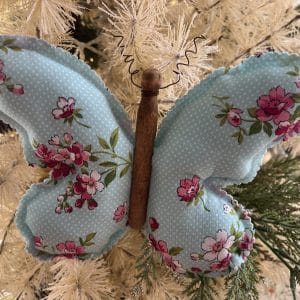
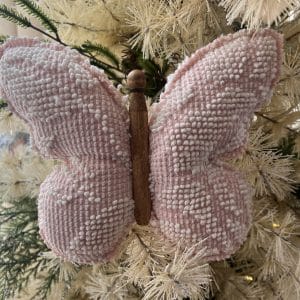
Now that the antennas are added you are going to slid the doll pin down the middle of the butterfly.
Lovely butterfly 🦋. Like your blog it is nice. And your butterfly 🦋 turned out amazing. Your a talented crafter.