Home Decor
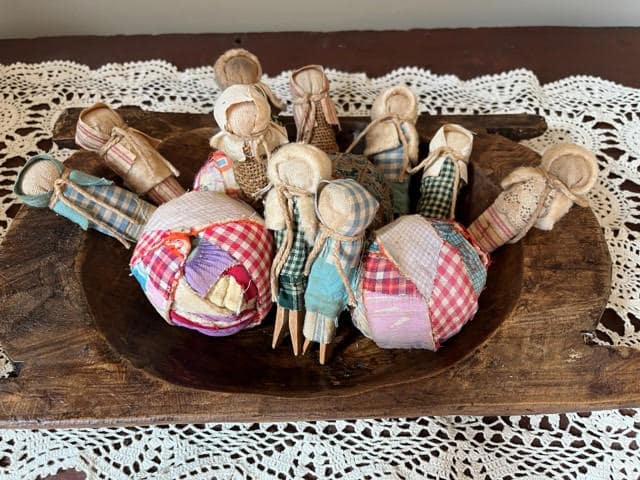
Primitive Clothespin Dolls
Materials you will need for one primitive doll
- Craft clothespin (Hobby Lobby item #844050)
- Scrap pieces of fabric in colors of your choice
- Scrap piece of muslin or osnaburg fabric for head
- Jute twine (I use the thin jute twine from the Dollar Tree)
- White heavy thread, embroidery thread or I used quilters thread. Which ever you choose will be fine
- Small amount of polyester fiberfill
- Pencil
- Ruler
- Scissors
- Coffee stain mixture
- Hot glue gun and glue sticks
Cutting and Staining Fabric Pieces
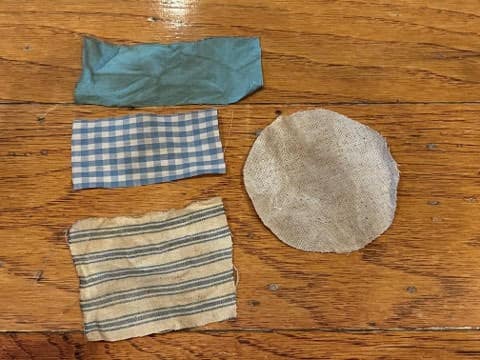
The first thing you will need to do is decide which fabrics you would like to be the dress, apron, and the babushka scarf. Measure and cut your pieces as follows:
- Head – 3.25” circle from either muslin or osnaburg fabric
- Dress – one piece 2.5” long x 3” wide
- Apron – one piece 1.5” long x 3” wide
- Babushka scarf – one piece 1.5” long x 4” wide
Next you are going to want to stain your fabric pieces to give them that old worn primitive look. If you do not have your own recipe for a coffee staining mixture you can find my recipe under my blog titled how I coffee stain and color fabric.
Coffee stain your fabric pieces and put them out in the sun. You are also going to want to cut a few inches of jute twine and coffee stain it while you are staining your fabric.
Putting Together Your Primitive Clothespin Doll
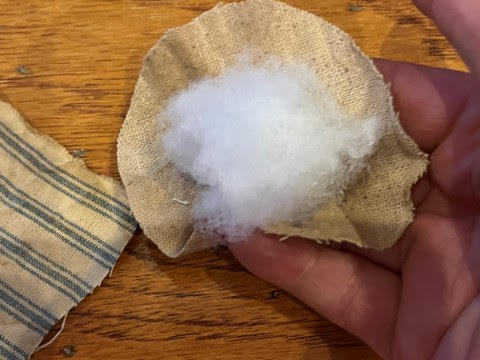
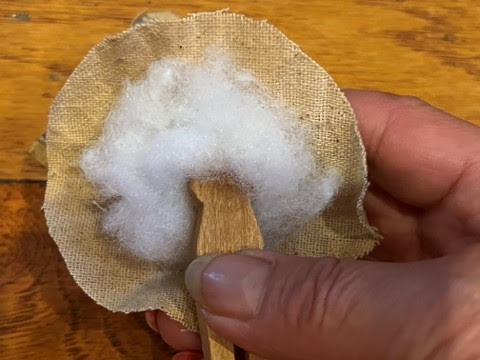
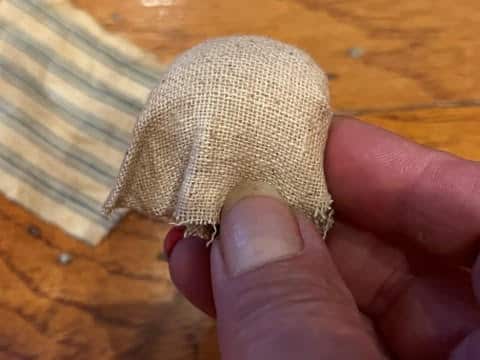
In my photo’s my clothespin is going to look different because I used some vintage clothespins I had on hand. If you want to give your clothespins a older look you can also coffee stain the clothespins. Let them soak in the coffee stain mixture for about 15 minutes or so then put out in the sun to dry. The first thing you are going to do is add a small ball of polyester fiberfill to the center of your circle then place over the top of the clothespin. You might have to add a little more polyester fiberfill or remove some, you want just enough to form a head. Once you have the head the size you want take your thread and wrap it around the bottom of the head of the clothespin, wrap it a few times around then knot off and trim.
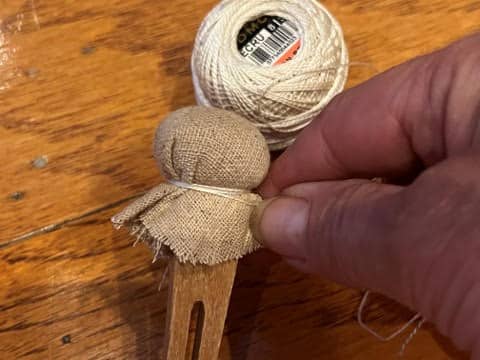
The next step is to add the dress. Decide which side of the doll is going to be the back. Next in the middle of the backside just under the string add a line of hot glue from the neck down onto the clothespin a little ways. Glue down one side of the dress fabric then warp the fabric around the clothespin ending up at the back again. Add a line of hot glue down the side of the dress then glue down.
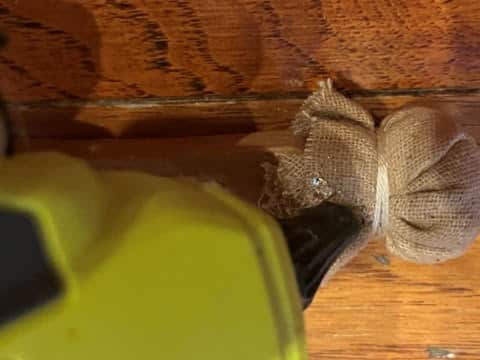
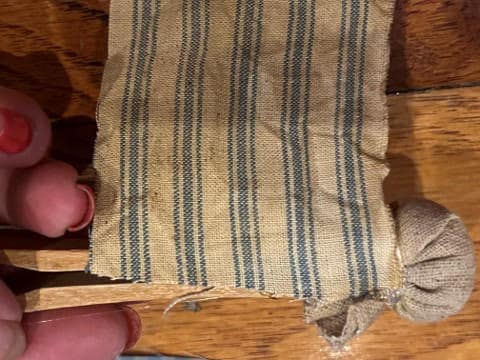
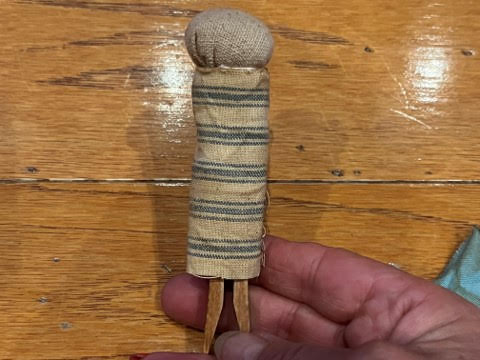
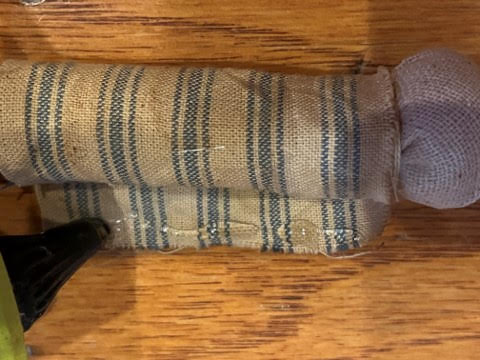
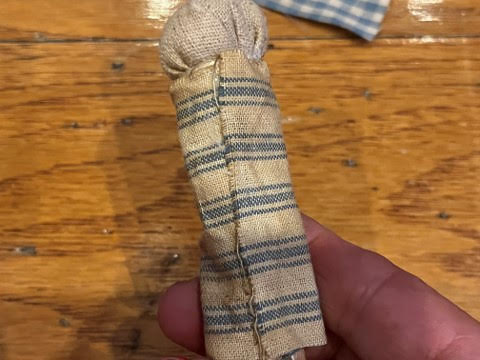
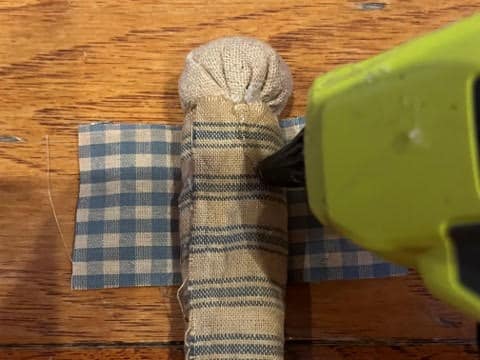
To add the apron with the front of your doll facing down place the doll on top of the fabric in the center. Add a line of hot glue on the backside of the doll starting in the middle just under the head down to where the apron fabric ends. Glue down one end of the apron. Next pull the other end around to the back so it is a little tight add a line of hot glue down the end of the fabric and glue down on top of the other side of the apron.
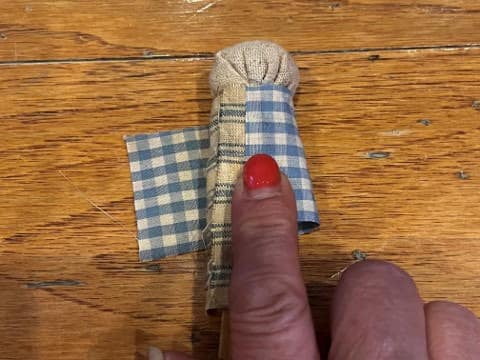
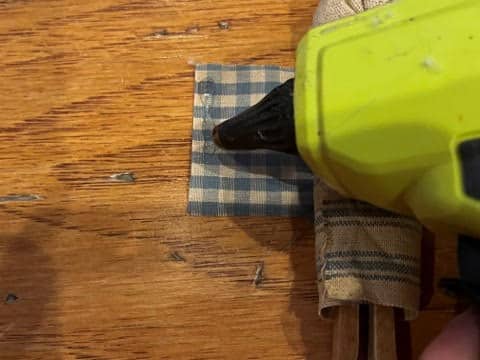
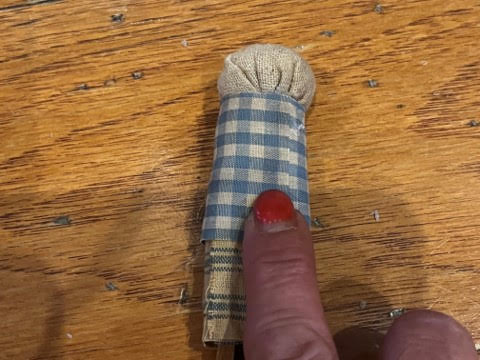
To add the babushka scarf place the piece of fabric width wide across the head making the sides even. On the backside fold down the babushka then fold the sides over to the middle of the back.
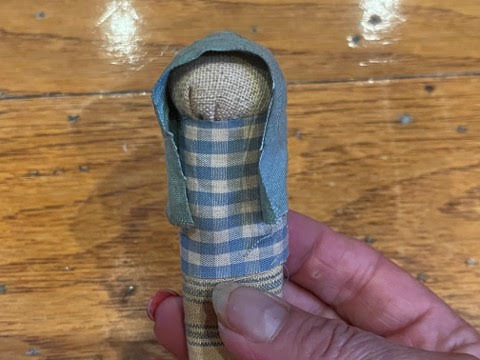
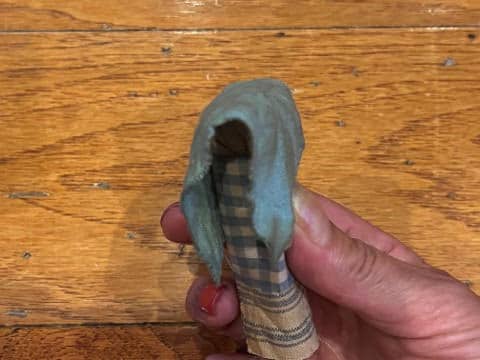
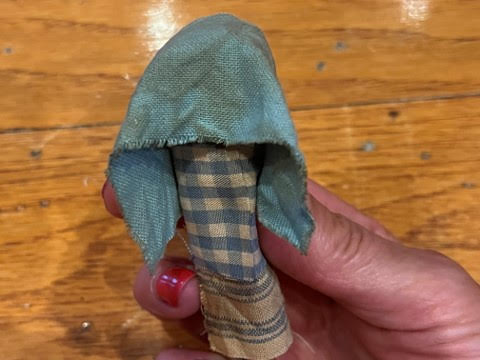
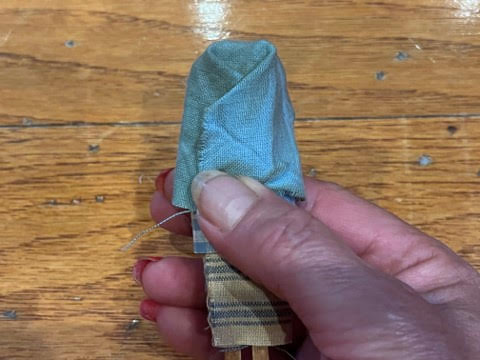
Next about 2” from one end of your coffee stained jute twine start wrapping the jute around the neck, I wrapped it twice around. You want both ends of your jute twine at the front of the doll. Tie a knot and trim.
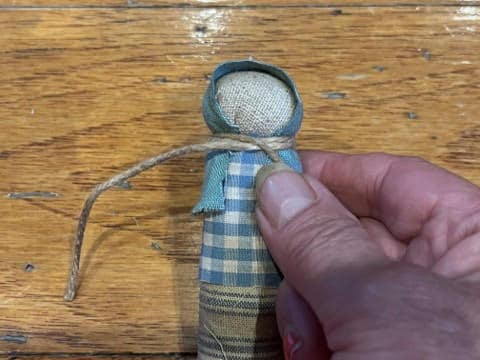
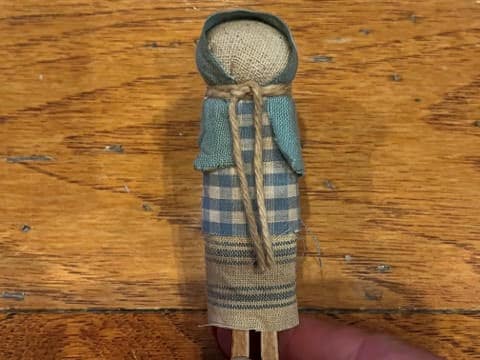
How adorable are these little Primitive Clothespin Dolls. Use your imagination and dress them in all different colors and textures. Make them your own!! You can easily add a fishing line or jute hanger to the back of her head so you can hang them on a tree or make an adorable garland out of them. I hope you give these Primitive Clothespin Dolls a try I know you will not be disappointed on how adorable they turn out.


So sweet! I made some too. You have the best ideas and explain so well.
These clothespin dolls are darling! I will be making a few. Thank you for posting!
Thank you so much!
These are adorable Sherry. I’m going to make some. I bought clothespins the other day to make them. Thank you for sharing this with us.
These are adorable Sherry. I’m going to make some. I bought clothespins the other day to make them.
I saw these last year and I love them. I bought the round wood cloths pins and I have seen me fabric. But I have not crafted in awhile. The craft bug has left me due to multiple health issues. I will get back to it. I have a number of you craft projects printed out and saved, for when the bug bits me again.
Have a great day
Thank so much for sharing. I recently bought some vintage clothes pins at a thrift store along with an old vintage clothes pin hanger. Didn’t know what to do with them but just had to have them. Can you believe it? The were only one dollar for all! I love this idea and I also love rustic and vintage, shabby chic crafts. I have plenty of fabric scraps and can’t wait to get started.